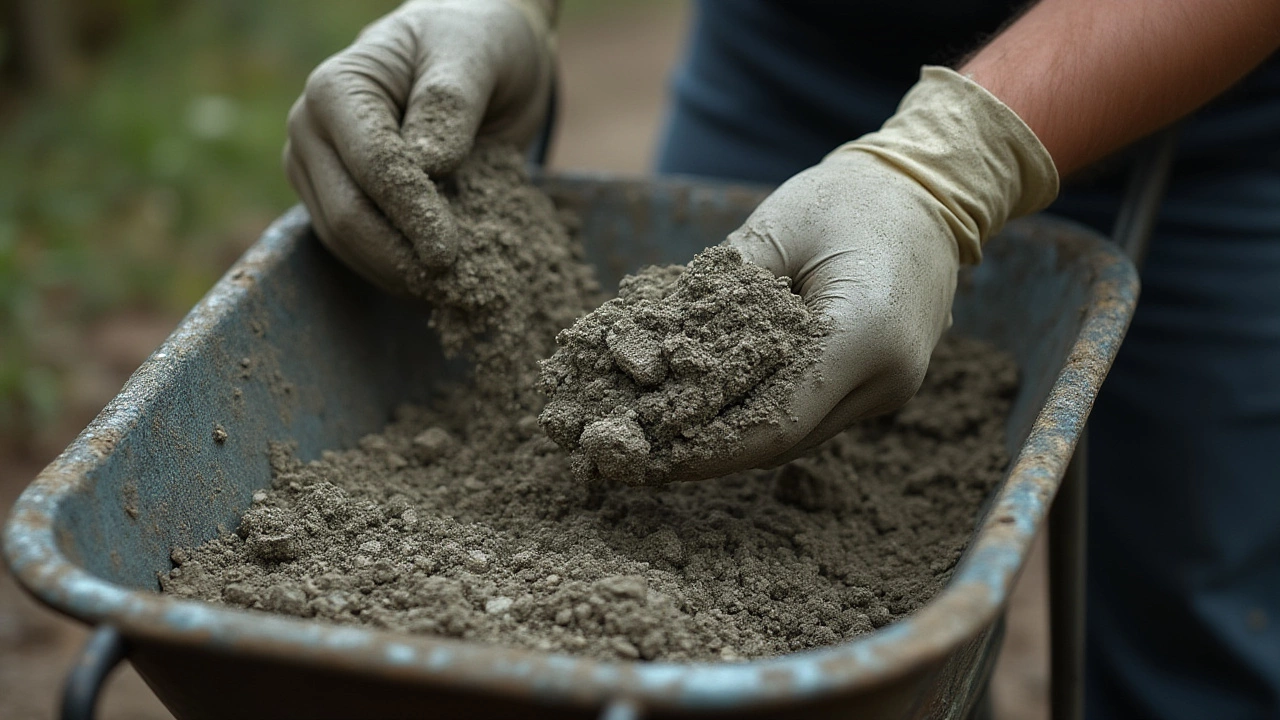
So you’ve spotted cracks zigzagging across your basement’s walls or maybe that sloping floor finally annoyed you enough to look up solutions. Here’s a dirty little secret about foundation repair: the cement you pick makes or breaks the job—literally. Ever wonder why some fixes last decades while others crumble in just a few winters? It almost always comes down to the mix under your feet.
Cement 101: Understanding the Options
Not all cement is created equal. Head over to any hardware store and the shelves are loaded with bags promising “high strength,” “quick set,” and even “waterproof magic.” But which ones actually hold up under the pressure, moisture, and vibration foundations deal with every day?
At the core, most foundation repair jobs use a cement-based product. The usual suspects are:
- Ordinary Portland Cement (OPC)
- Hydraulic Cement
- Polymer-Modified Cement
- Epoxy or Polyurethane-based products (for crack injection rather than bulk fill)
Let’s break those down. OPC is your classic, gray cement—used in everything from driveways to skyscrapers. For sheer compressive strength, it’s a solid contender. But when it comes to foundation repair, OPC alone doesn’t always cut it, especially wherever water seepage is a threat. That’s where hydraulic cement often steps up. Hydraulic cement sets super fast (sometimes within minutes) and keeps hardening, even underwater. This trick makes it a favorite for sealing cracks in basement walls or stopping active leaks.
Polymer-modified cement mixes add glue-like polymers to regular cement, boosting flexibility and adhesion. This helps repairs stay stuck to the old concrete, even during freeze-thaw cycles. And when crack injection is called for—say, hairline cracks letting in water—epoxy or polyurethane foams may be used, but those aren’t full-on foundation fixes.
If you’re worried about more than just surface cracks—say, an entire footing repair or major underpinning—the actual mix design matters even more. Contractors blend cement, aggregate (sand and gravel), and additives like fly ash or silica fume to dial in workability, strength, and durability. It’s old-fashioned chemistry meeting brute force.
To give a sense of the raw numbers, check this out:
| Type | Compressive Strength (28 days) | Set Time | Water Resistant? |
|---|---|---|---|
| Ordinary Portland Cement | 21–41 MPa | 2–6 hours | Good, but can crack if not sealed |
| Hydraulic Cement | 24–34 MPa | 3–10 mins | Excellent |
| Polymer-Modified Cement | Varies, often 30+ MPa | 1–2 hours | Very Good |
And here’s a wild stat: A 2024 study in the Journal of Concrete Research found hydraulic cement plugs stopped water penetration in basement repairs up to 93% more effectively than plain portland mixes. Not a small difference if you live anywhere with groundwater issues!
Choosing the Right Cement Mix for Your Situation
No two foundations are alike. A 1950s poured concrete basement in Detroit handles stress way differently than a century-old brick-and-mortar cellar in Boston—or a cinder block crawlspace in Dallas. Concrete mix isn’t just “one size fits all.” Environmental factors, the root cause of the problem, and the repair method all play a role in picking your cement.
Let’s say you’re patching minor surface cracks or chips. Here, a polymer-modified repair mortar usually does the trick. It bonds really well, flexes as slabs shift, and shrinks less as it dries. If you’re sealing live leaks or cracks with steady water intrusion, go straight for hydraulic cement. It expands as it hardens, locking out water better than traditional cement ever could.
But what if you’re rebuilding a collapsed footing or underpinning a sagging corner of your home? Here’s where you really want a structural-grade concrete mix, often specified by an engineer. These mixes use a higher cement content, less water, special graded aggregates, and sometimes chemicals to help the concrete cure stronger and resist chemical attack. Some high-end repair contractors use shrinkage-compensating cements—which counteract the tendency of cement to pull away from the existing foundation as it dries.
Do you need to look out for something specific when it comes to mixing and pouring? Absolutely. Always use a water-cement ratio as close to the manufacturer’s recommendation as possible. Too much water weakens the mix and makes it prone to cracking; too little, and it’s impossible to work with—and may not bond or cure correctly. Ever seen those DIY repairs that crumble in your hand? Nine times out of ten, it’s because someone “eyeballed it” instead of following instructions on the bag.
A pro tip: Temperature matters. If you’re working in cold weather, pick a mix rated for low temps or add a set accelerator—otherwise, your cement might never reach full strength. Hot conditions call for slow-setting or retarding additives so you’re not racing the clock. It’s that Goldilocks sweet spot that makes a real difference.
Want some behind-the-scenes insight? Most big-name waterproofers and foundation specialists lean on brands like Quikrete Hydraulic Water-Stop, Sika Pro Select, and Rapid Set Cement All for their consistency and proven performance. These products aren’t just slapped on floors—many are rated for both structural and non-structural repairs.
So, how do you actually apply these cements? A little prep goes a long way. Clean out cracked or damaged areas thoroughly—vacuum out dust and debris, knock off any loose pieces, and moisten the repair zone before application. For deep cracks, undercutting (widening the bottom slightly) helps the patch “lock in.” Apply in layers if the gap is deep—each about half an inch at a time—and work it in firmly to avoid air pockets. Let each layer set before adding the next.
And for those concerned about the environmental bottom line, eco-friendlier cements are making headway. Blended cements using fly ash or slag have a lower carbon footprint and actually enhance durability in many situations, though check manufacturer data to be sure they’re rated for structural repairs.

Real-World Application: Tips from the Field
Getting your hands dirty? Here are some specific tips I’ve picked up from seasoned foundation pros:
- Work in small batches. Fast-setting cements give you little time for mistakes. Mix only what you can apply in ten minutes.
- Use the right tools. A margin trowel for small cracks, a float for larger patches, and—if fixing footings—maybe a concrete mixer rental is worth the $40.
- Waterproof after repairs. Even the best cement is porous. Apply a foundation sealer or elastomeric coating to keep moisture out long-term.
- Don’t forget steel reinforcement. For major repairs (like rebuilding a footing or beam pocket), rebar or wire mesh is a must for strength and crack control.
- Patience pays off. Keep traffic, vibrations, and heavy loads away from your fresh repair for at least 3 days—7 is better.
- Check the warranty. Most quality bagged products—especially specialty repair cements—come with a warranty. Save the receipt and document your job just in case.
Ever hear those stories about contractors who “patch and dash” surface cracks only for the wall to leak worse within months? It’s usually because they skipped prep or used the wrong cement for the job. As expert builder Tom Silva puts it,
“Concrete only works when you let it bond right and don’t rush the process. No magic cement fixes sloppy work.”
Nothing fancy—just good, solid advice from someone who’s seen ten thousand repairs, both good and bad.
And just a heads-up: not everything labeled “foundation repair” at the hardware store is up to real foundation standards. Some quick fixes are more cosmetic than structural. Always check the compressive strength—look for 4000 psi (about 28 MPa) or higher for anything structural. If you’re unsure, ask a pro or look for ICC-ES, ASTM, or CSA certifications on the bag. This stuff matters when your house is on the line.
The Bottom Line on Foundation Repair Cement
No one-size-fits-all answer here—the best cement for foundation repair depends on where you’re working, what kind of damage you’re facing, and how long you need the fix to last. Here’s the short version if you’re standing in the aisle right now, phone in hand:
- For sealing leaks or active water: Hydraulic cement, every time. Look for bags labeled “Water-Stop.”
- For cracks up to 1/2-inch wide: Polymer-modified repair mortar.
- For big jobs—like footing rebuilds, pier installations, or underpinning: Structural-grade concrete mix with high cement content (ask for a 4000–5000 psi mix).
- For crack injection (not full repair): Go with professional-grade epoxy or polyurethane kits.
Remember, foundation repairs aren’t a place to cut corners. The peace of mind you get from doing it right—using the actual best cement for foundation repair, not just what’s cheap or close at hand—is worth every penny. If you play by the rules, give the mix time to cure, and don’t get swayed by miracle cure claims, your foundation will outlast the neighbors—weather and all.
Need a sanity check? If the damage looks scary or the job is more than you bargained for, call a qualified structural engineer or specialty contractor. They’ll know which product gives your home the backbone it needs to stand strong. And isn’t a rock-solid home kind of the whole point?


