Finding cracks in your home's foundation can be a worrying sight, but not all foundation problems require a call to an expensive professional. Sometimes, minor issues can be resolved with a bit of elbow grease and the right approach. As a homeowner, knowing how to fix these can make a massive difference in maintaining your property’s value and safety.
This article walks you through the essentials of identifying and addressing common foundation issues on your own. From spotting the first signs of trouble to the gear you’ll need, we cover the basics of tackling these repairs safely. Plus, you’ll learn valuable tips on when it’s best to bring in a professional.
- Identifying Foundation Problems
- Common Causes of Foundation Issues
- Tools and Materials Needed
- Step-by-Step DIY Repair Guide
- Safety Tips and Precautions
- When to Call a Professional
Identifying Foundation Problems
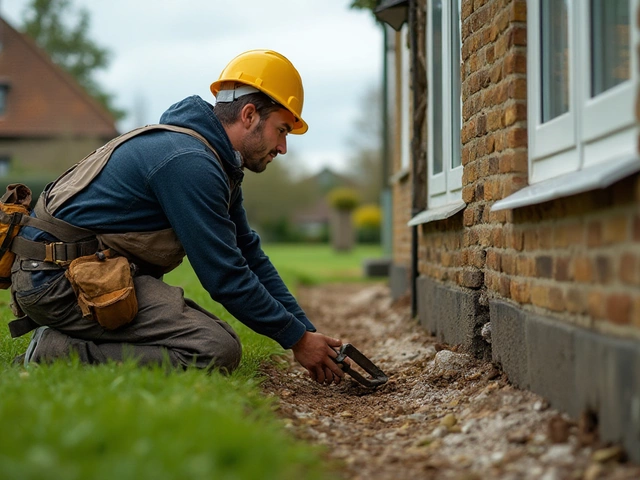
Before diving into repair work, it's crucial to recognize signs indicating that your home's foundation might be under duress. Typical foundation issues manifest in various ways, and being vigilant about these red flags is important. One of the most obvious signs is the emergence of foundation cracks, which can occur inside and outside your home. Cracks can appear as vertical, horizontal, or diagonal fissures. Vertical cracks often result from natural settling and may not be an immediate concern, but horizontal cracks can indicate serious structural problems due to pressure from soil swelling.
Doors and windows have more to say than just leading you outside. Difficulty in closing doors or windows suggests potential misalignment issues stemming from foundational shifts. You might notice gaps around door frames or windows, indicating that sections of your home are moving unevenly. Walls and ceilings also speak volumes; look out for cracks, especially where walls meet ceilings or floors, as these can be tell-tale signs.
Home repair experts often suggest using a simple tool: a spirit level or even a small ball. Place it on the floor and see if it rolls or stays put. Uneven flooring is another significant marker that your house might be settling in more ways than one. In some instances, you might notice that the floors are sloping more than usual. This problem also links to a potentially failing foundation support.
Plumbing holds its own clues. Unexplained plumbing issues, such as frequent leaks, might indicate foundation problems, as piping shifts with the foundation. This shifting places undue pressure on joints and fixtures, often leading to damage and leakage. Additionally, if you have a basement, pay attention to moisture levels; excessive moisture or recurrent water pooling is suspicious and often connected to foundation damage.
Civil engineer Robert Johnson from the Foundation Standards Institute says, "A home's integrity starts with its foundation. Early detection and intervention are paramount in preventing what can become a costly catastrophe."
It's noteworthy to remember that soil plays an instrumental role. Depending on your area, expansive clay soil, for example, can dramatically affect the stability of your home. According to data from the Geological Society, homes built on clay-rich soils are more susceptible to foundation problems due to such soil's expansion and contraction properties, sometimes causing as much as a 10% volume change based on moisture variation.
Early detection and understanding the warning signs can be a homeowner’s first line of defense against serious foundation woes. Recognizing these signs not only aids in preventing structural concerns but also ensures the longevity and safety of your residence. Every homeowner should cultivate a keen eye for these minor details, which can save them from major headaches in the long run.
Common Causes of Foundation Issues
When it comes to the stability of your house, understanding what lurks beneath can often unravel the mysteries of foundation damage. One of the predominant causes of foundation repair needs is the soil type your home rests on. Clay-rich soils, commonly known as expansive soils, swell with moisture absorption and shrink when parched, creating a cycle of upheaval and settlement that can wreak havoc on any structure. Such movements, while imperceptible at first, can eventually lead to visible cracks in the foundation.
Another critical factor contributing to foundation woes is poor drainage around the property. Water pooling or inadequately diverted away from a foundation can seep down to the base, destabilizing the soil. Prolonged exposure to moisture weakens the concrete, leading to erosion and eventual cracking. Homeowners often overlook minor leaks or malfunctioning gutters, not realizing the role these play in water-related foundation issues.
Tree roots, although vital for the ecosystem around your house, can cause unexpected damage as they extend towards a moisture source like your foundation. Large trees planted too close to your home’s foundation are relentless; they seek water and can disrupt the soil structure as they grow, shifting the soil and causing a beautifully destructive type of damage which isn't always intuitive to diagnose.
Another subtle yet impactful cause is the fluctuations in the region's climate. Areas that experience drastic seasonal temperature changes often find themselves with foundation woes. The freeze-thaw cycles, common in northern climates, expand and contract the soil repeatedly. Over time, these natural processes stress the structural integrity of a foundation.
According to the American Society of Civil Engineers, "Soil movement alone accounts for at least 25 percent of foundation failure claims in the United States."
The method of construction and lack of proper compaction during the initial building phase plays a significant role too. Foundations that are laid without expert understanding of soil behavior can succumb to pressure or movement they weren't designed to endure. This initial oversight during construction can lead to compromised foundations, demanding repair sooner than typically expected.
Man-made activities can't be ignored either when considering DIY foundation fix projects. Urban development, nearby construction blasts, or any ground disturbances can influence foundation stability. These changes in the immediate environment alter the load and stress distribution around a home, testing its structural limits. Keep an eye on ongoing work nearby to anticipate potential impact.
Lastly, consider earthquakes, natural yet significant contributors. Although they are more common in certain regions, their impact on foundation strength transcends geography. Even moderate tremors can unsettle a foundation, making it crucial for homeowners, especially those in seismically active areas, to maintain vigilance and undertake foundation assessments regularly.

Tools and Materials Needed
Tackling a foundation repair project requires more than just enthusiasm; the right tools and materials are crucial for a job well done. Having the proper equipment not only makes the process smoother but also ensures the repair is long-lasting. This section delves into the essential items you’ll need to have at your disposal.
First and foremost, personal protective equipment is indispensable. Safety goggles, gloves, and a hard helmet should be worn at all times to mitigate risks. Concrete dust and debris can cause significant injuries if proper precautions are not taken. Safety cannot be overstated; let’s make sure you’re appropriately geared to avoid accidents.
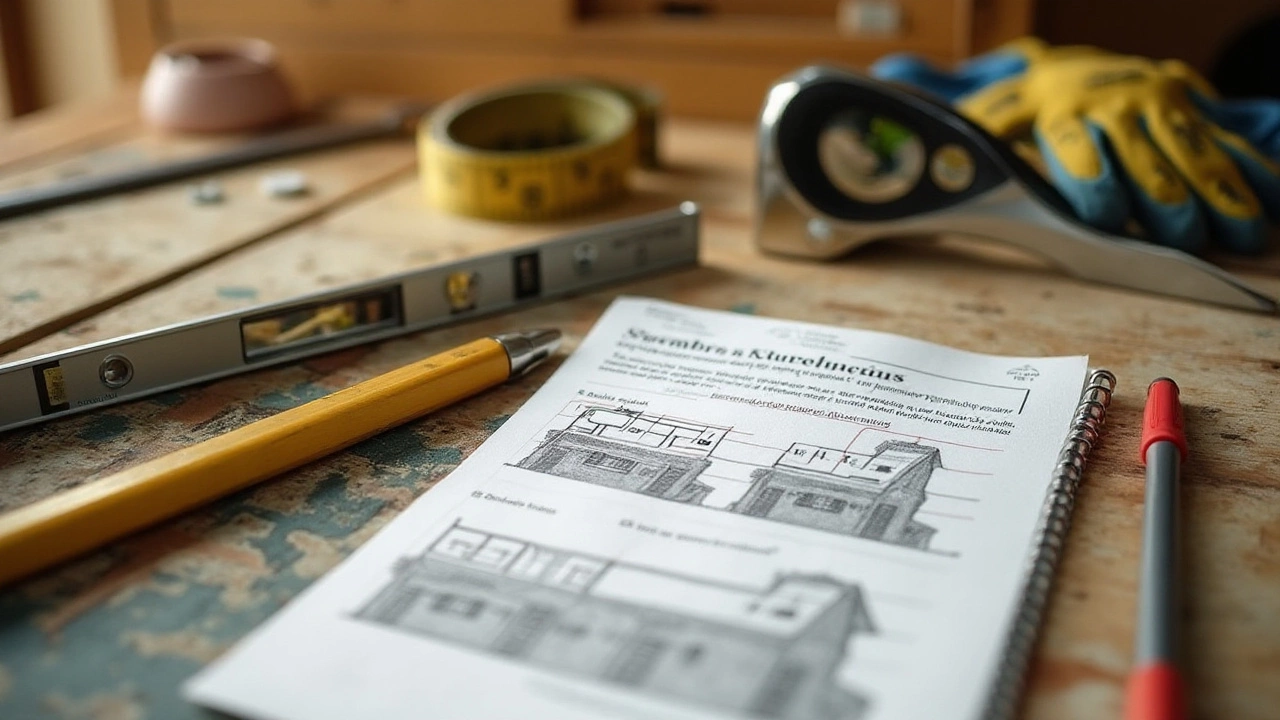
Next, you’ll need a range of basic tools. A measuring tape for precise measurements is a staple in any DIY toolkit. A spirit level will help you monitor the alignment and levelness of the foundation during repair. Chisels and hammers are fundamental for chipping away loose pieces, while trowels and putty knives come in handy for smoothing and spreading mortar or sealants.
Power tools can significantly speed up the DIY foundation fix process. An electric drill with a masonry bit set allows you to create holes for injecting epoxy or polyurethane sealants effectively. A circular saw with a specialized diamond blade can resize blocks or beams that may need adjustment. Remember, though, always handle power tools with care and observe all safety instructions.
When it comes to materials, you will likely need concrete patching compounds. These can be purchased at most hardware shops and come in a variety tailored to specific types of cracks—whether hairline, medium, or large. For more flexibility, especially in areas prone to movement, polyurethane sealants are recommended. These compounds are excellent for their adhesive qualities and long-lasting elasticity, ensuring the repair withstands shifts in soil or weather conditions.
For larger repairs, steel reinforcement bars might be necessary. Commonly referred to as rebar, these are crucial if you are addressing extensive structural weaknesses. While this might escalate the complexity, it is important for the stability and longevity of your repair work. Consulting with a structural engineer can help determine if rebar is needed.
The saying goes, “measure twice, cut once.” Among professionals, careful preparation is appreciated as one of the most valuable stages of foundation repair. According to
Tom Silva, a well-respected contractor from This Old House, "Having all the right tools isn’t just a matter of convenience. It means you can get started and stay focused on doing the job right, without having to stop for supplies halfway through."This wisdom underscores the fact that proper planning and resource assembly are invaluable.
To help plan, here's a useful breakdown:
| Item | Purpose |
|---|---|
| Measuring Tape | For accurate measurements |
| Spirit Level | To ensure level surfaces |
| Chisel & Hammer | Removing loose material |
| Trowel | Applying concrete patches |
| Electric Drill | Drilling holes for sealants |
| Concrete Patching Compound | Repairing cracks |
Arming yourself with these tools and materials sets the stage for a successful and efficient project outcome. By ensuring all items are of high quality and suitable for the tasks at hand, you give yourself the best chance of accomplishing a durable and effective foundation repair.
Step-by-Step DIY Repair Guide
Repairing your foundation may sound daunting, but with a methodical approach, it can be manageable even for those who aren’t seasoned handymen. Start by evaluating the extent of the issue to determine if a DIY fix is suitable. Small vertical cracks under 1/4 inch wide, for instance, can often be handled at home. For more severe or persistent problems, it's essential to consult a professional to avoid jeopardizing your property’s structure. According to a study from the Home Inspectors Association, 80% of minor foundation damage can be effectively treated without professional intervention, provided you follow the right steps.
Here's a detailed guide to get you started on your DIY foundation repair:
Gather the Right Tools and Materials
Before diving into the repair, assembling the correct tools is necessary. You’ll need a chisel, hammer, wire brush, safety glasses, and protective gloves to handle materials safely. Choose a high-quality concrete patching compound or epoxy for sealing. For filler, opt for a polyurethane or latex-based caulk designed for concrete, as this can accommodate slight movements during contraction and expansion.
Clean and Prep the Area
Begin by cleaning the cracked area thoroughly. Use a wire brush to scrub away loose material and debris. Removing dust and residue ensures that the repair material adheres well. After cleaning, rinse with water and allow it time to dry completely, as moisture can affect the adhesion properties of the patching compound.
Patch and Seal
- With the chisel and hammer, widen the crack to create a V-shape. This enables the compound to grip the edges better.
- Mix the patching compound according to the manufacturer's instructions. Consistency matters; neither too runny nor too stiff is favorable.
- Fill the crack with the compound, making sure it is completely filled in. Use a putty knife for application and to level the surface.
- Allow the repair to cure for the time specified by the manufacturer. This can vary from a few hours to over a day, depending on the material used.
“Ensuring the crack is fully sealed prevents water from seeping in and causing further expansion,” advises the guide by the Concrete Institute of America. This precautionary measure can save you from future repairs.
Monitor and Maintain
Once the crack is sealed and the material cured, keep an eye on the area over the following weeks. Any changes in size or new cracks could indicate underlying issues that might need professional evaluation. Maintenance is key. Inspect your foundation annually to catch problems early, checking especially after heavy rainfall or drastic weather changes.
Be diligent in monitoring even after repairs. Long-term peace of mind comes with understanding that maintaining your home’s foundation is not a one-time job but an ongoing process.

Safety Tips and Precautions
When embarking on a DIY foundation repair adventure, safety should be your top priority. Working with foundational structures involves risks that can be significantly minimized by adhering to some smart precautions. Firstly, always start by wearing the necessary protective gear. This includes using gloves to protect your hands from hazardous materials like cement or potential sharp edges on tools. Eye protection is equally crucial as any flying debris can cause severe eye injuries. Also, consider wearing a dust mask to avoid inhaling particles, particularly when cutting or drilling into concrete.
An essential step in ensuring safety during a DIY foundation repair is thorough preparation. Begin by inspecting the area for any potential hazards that might not be part of the repair itself but could pose threats, such as exposed wires or unstable soil. For those using power tools, it's crucial to understand the tool's operation before taking on any task. Misuse of tools is a common cause of accidents, so make sure you're confident in handling them.
The Royal Society for the Prevention of Accidents emphasizes, "Knowing your tool is half your safety battle."Regardless of how minor the repair seems, never underestimate the complexity of home repair tasks.
Clearly marked boundaries and proper signage around your working area can prevent accidental entries that might disturb the repair process or cause injury. If the work requires you to dig, always ensure that you are aware of any underground utilities present in your area, like gas or water lines. Ignoring this step can not only cause disruptions but also lead to dangerous situations. When lifting heavy materials like paving stones or concrete bags, use proper lifting techniques to avoid back injuries. Bending your knees and keeping your back straight are key components of safe lifting practices.
Equipping yourself with a first-aid kit onsite is wise, as it ensures that you can quickly handle minor injuries, letting you focus more on the repair work than on an avoidable interruption. Additionally, if you happen to have any medical conditions that could be affected by physical exertions or dust, consult with a health professional before commencing any laborious foundation cracks repair tasks. Remember, safety first, task second should be your motto throughout the repair.
Finally, acknowledge the limits of DIY endeavors. While it’s empowering and often cost-effective to handle repairs personally, there are times when bringing in a professional is the safest course of action. Recognize when a structural problem exceeds your skill set or expertise. Not only will it ensure the integrity of your home, but it can also save you from potential health hazards. If in doubt, consulting an expert could be the best precaution you undertake during any DIY foundation fix.
When to Call a Professional
Though undertaking a DIY foundation fix can be tempting, there are times when it’s crucial to know your limits and seek the expertise of a seasoned professional. One of the primary indicators that professional help is needed is the presence of large cracks, typically wider than a quarter of an inch, or those presenting a stair-step pattern. Such cracks can signify severe structural issues that go beyond simple surface repairs. An experienced foundation engineer can conduct a thorough assessment and recommend the most effective repair strategy to ensure the safety and stability of your home.
Another key factor is the presence of foundation movement, manifested through signs such as sticking doors, windows that jam, or sloping floors. Often, these issues point to underlying problems, such as soil erosion or water damage, that need specialized equipment and techniques to address effectively. Attempting to solve these on your own can potentially worsen the situation, turning a minor issue into a major repair job. In cases where your home's foundation has already been reinforced with piers or underpinning systems, maintaining this system is not generally recommended as a DIY project.
Additionally, you should consider calling a professional if you notice persistent water intrusion around the foundation. This could be an indication that your home’s drainage systems aren't functioning properly, which can lead to soil instability and further structural problems. Professional contractors not only have the expertise to identify and rectify drainage issues but also possess the right tools to ensure that such problems don’t recur. In the case of older homes, where building practices and standards might vary, professional insights can be invaluable.
In some cases, seeking expert advice is not just about addressing current problems but can be about preventative maintenance, especially if you're planning renovations or extensions. As Robert Brown, a well-respected structural engineer, once stated, "A sound foundation is not just about fixing past issues, but about fortifying against future ones." Professionals often offer long-term solutions that incorporate the latest in building technology and materials, ensuring your home remains in excellent condition for years to come.


