Ever walked into your basement, only to find a mini swimming pool forming because of some nasty foundation leak? Ah, the joys of home ownership, right? But before you turn into a pirate, sailing through your own house, let's tackle this head-on.
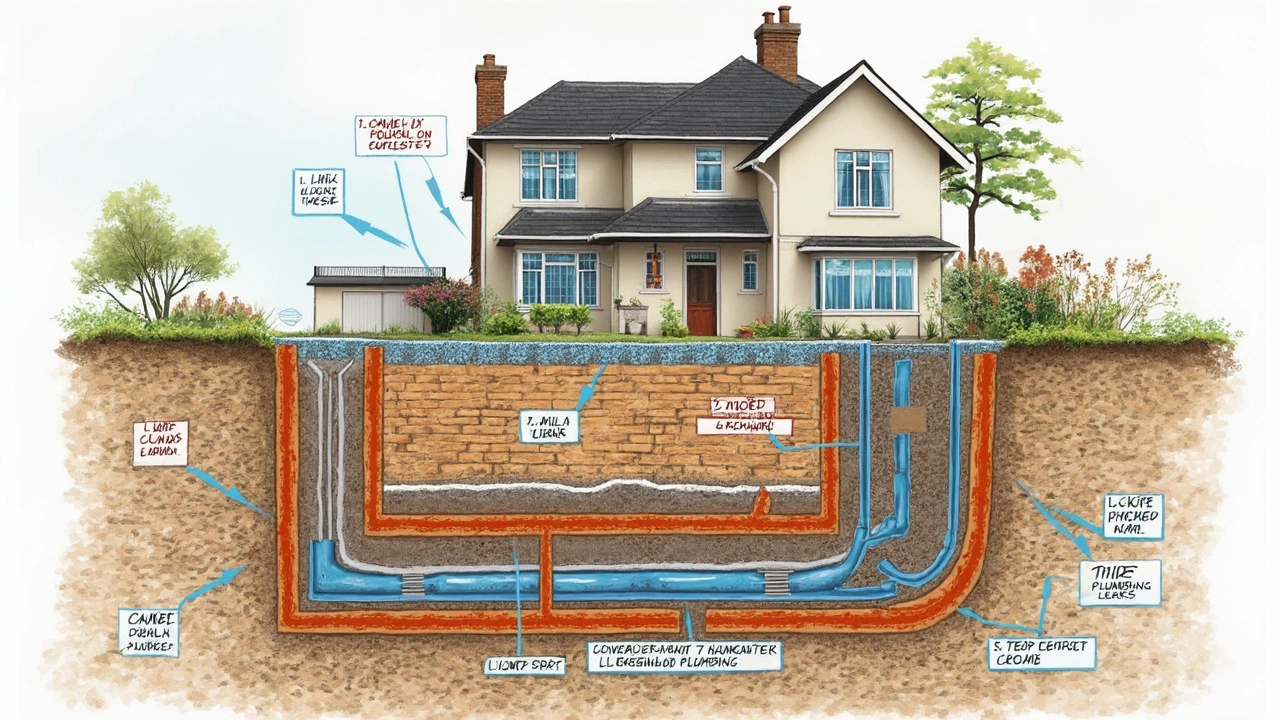
First things first: why on earth is your foundation leaking? Leaks often happen because rainwater isn't properly diverted away from your home. Or maybe that gorgeous garden you planted is actually messing with your drainage system. It's even possible that some tiny cracks have decided to play “connect the dots” on your foundation walls.
Once you figure out what's causing the leaks, you can start thinking about solutions. It's like having a leaky faucet; once you find the cause, fixing it becomes ten times easier. So, keep an eye on any visible cracks or places where water pools up outside. This could be a sign your foundation is in distress.
- Understanding Foundation Leaks
- Identifying Common Causes
- Prevention Techniques
- DIY Repair Tips
- When to Call in the Pros
- Future Maintenance Tips
Understanding Foundation Leaks
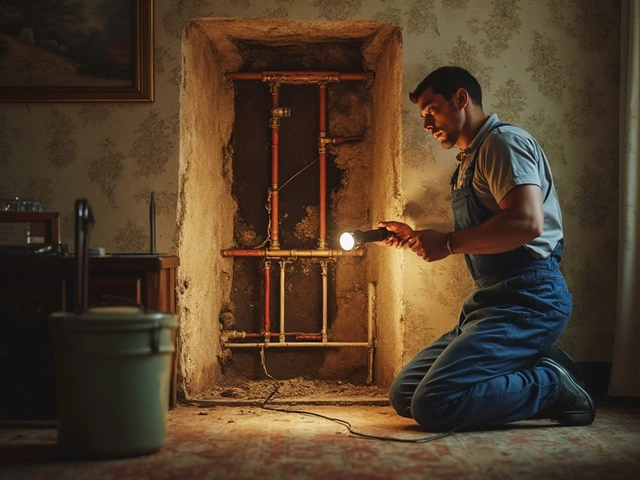
Okay, let's talk leaks. Not exactly the most thrilling topic, but if you've got water sneaking into your home, it's a big deal. So, what's going on down there? It turns out, your home's foundation is like the backbone—it's got to support everything else. When water finds a way in, it weakens this support system.
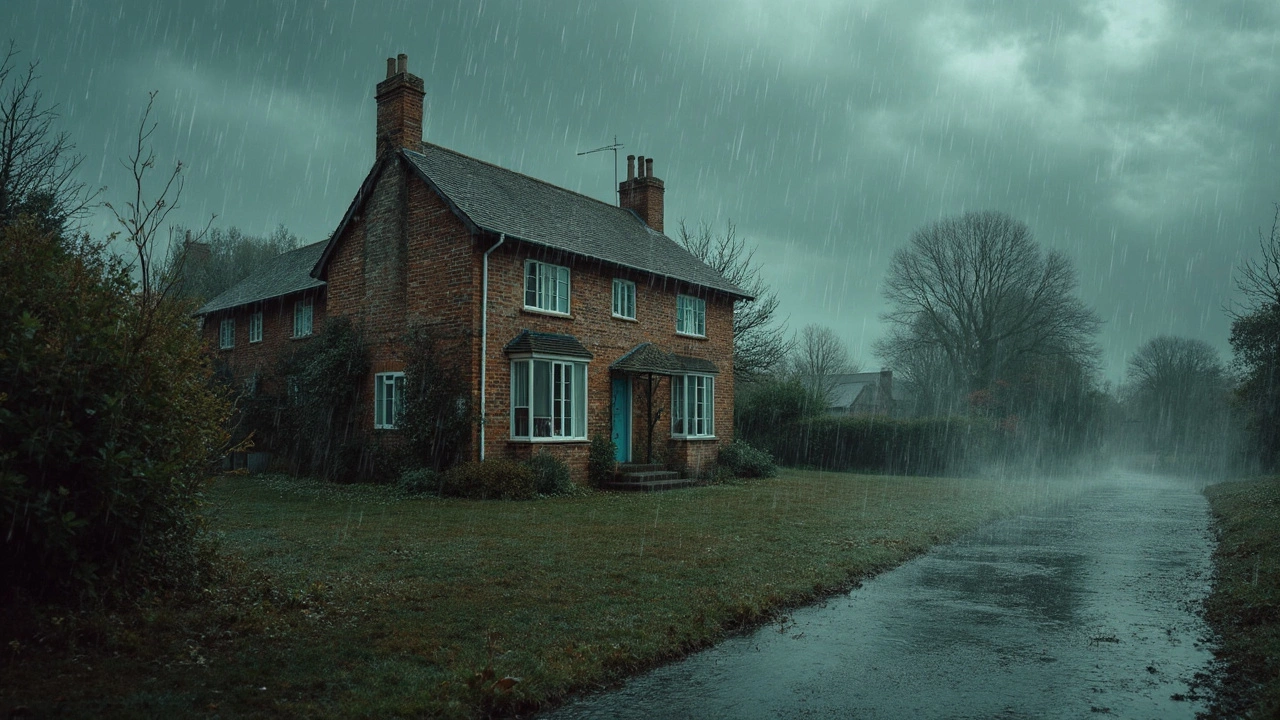
One of the main culprits behind foundation leaks is water pressure from the outside. This pressure often builds up from heavy rainfall or poor drainage, pressing against those basement walls until the water finally finds a way in, through cracks or tiny gaps. Think about having a watertight bottle—but then, you poke a few holes in it and see how long it stays dry.
Another cause is due to the soil around your house. Different types of soil react differently to changes in moisture levels. Clay soil, for example, expands and contracts with water levels, putting pressure on foundation walls. And don't get me started on those sneaky tree roots. They can grow into pipes and cause blockages, leading to leaks.
Ever heard the saying 'preventive maintenance is the best maintenance'? Spot-on when it comes to your home's foundation! Keeping gutters clean and ensuring downspouts direct water away from the house can help manage exterior water. It's like giving water a nudge, saying 'move along, there's nothing to see here.'
Here's a handy table to break down common causes of leaks:
| Cause | Description |
|---|---|
| Poor Drainage | Water isn't being directed away, leading to pressure buildup. |
| Cracking due to Settling | Natural ground shifting causes cracks through which water enters. |
| Tree Roots | Roots invade pipes, blocking drainage and leading to seepage. |
| Soil Expansion | Soil like clay expands/contrasts, putting pressure on walls. |
Understanding these factors helps you make smarter choices about protecting your home’s foundation. Getting ahead of the problem means less worry down the line. So, keep an eye on signs of trouble and tackle them early. It's way easier and cheaper than dealing with significant damage later.
Identifying Common Causes
So, what's making your foundation leak like a broken dam? It's usually not just one thing but a combination of some usual suspects that can gradually wreak havoc on your beloved home. Let's dig into the most common reasons why your foundation leaks are being a pain.
Poor Drainage is a biggie. If water is pooling around your foundation instead of flowing away, it starts seeping into tiny cracks and expanding them. Gutters and downspouts that drop rainwater close to the house can cause major hassles if they're not set up right.
Next up, there's soil movement. Soils expand when wet and contract when dry, and this constant push-and-pull can make your foundation go 'pop' with cracks. If your house is built on a slope, even more reason to pay attention—gravity's just waiting to have its way.
Then you've got plumbing leaks. Yep, sometimes it's one of those sneaky pipes inside your house that's causing the problem. Burst or leaky pipes can flood the soil under your home, which can lead to foundation shifts.
Lastly, let’s not forget about poor construction. Sometimes builders cut corners, using materials that aren't up for the long haul or design flaws that make your home vulnerable. It's not unheard of, unfortunately.
Here's a little breakdown of how often these issues pop up:
| Cause | Frequency |
|---|---|
| Poor Drainage | 40% |
| Soil Movement | 35% |
| Plumbing Leaks | 15% |
| Poor Construction | 10% |
Knowing these causes helps you hit the target right on the bullseye and might just save you from costly repairs in the future. Keep these culprits in mind as we move on to fixing the problem.
Prevention Techniques
Keeping your foundation dry isn't about luck—it's about strategy. A solid prevention game plan can save you from costly repairs down the line. So, let's get into some practical tips for keeping those foundation leaks at bay.
First up: gutter maintenance. Your gutters might not seem like a superhero, but they play a crucial role in whisking rainwater away from your home. Clogged gutters are like having a clogged artery—they create pressure where you don't want it. Regularly clear out leaves and debris to keep water flowing freely.
Next, think about your landscape. Ever consider that beautiful flower bed might be part of the problem? Position your landscaping so it slopes away from your foundation. This directs water away instead of letting it pool around your home, which is a sneaky cause of foundation leaks.
And about those cracks—don’t ignore them! Even tiny cracks in your foundation can invite trouble. Check regularly for any new cracks or changes. If you find some, get them sealed. A little sealant now can prevent a much bigger headache later.
- Extend downspouts: Make sure downspouts stretch a good distance from your house—typically at least 5-10 feet away.
- Install a drainage system: French drains are great for diverting water away before it even reaches your foundation.
- Waterproofing solutions: Apply a waterproof coating to your foundation walls to add an extra layer of protection.
Seal the deal by conducting regular inspections. Check after big storms and season changes to catch anything suspicious early. Prevention really is the best cure when it comes to keeping your foundation leak-free.
DIY Repair Tips
Alright, so you're ready to roll up your sleeves and tackle those foundation leaks yourself? Nice! Before getting started, make sure you have some basic tools: safety goggles, a trowel, a broom, a caulking gun, and a concrete repair kit. Trust me, having the right gear makes you feel like a pro!
First off, let's deal with any visible cracks, since these little rebels are often the starting point of most leaks. Here's how you can patch them up:
- Clean the Area: Use a broom to sweep away dirt and debris around the crack. If it's dirty, you can't get a good seal.
- Mix Your Patch: Grab that concrete repair kit and mix the solution according to its instructions. Usually, it’s just a simple blend with water.
- Fill the Crack: Use your trowel to apply the mixed solution into the crack. Make sure you press it in firmly. You want it snug in there.
- Smooth it Out: Once filled, smooth over the top with the trowel. Take your time; a little finesse here can really make a difference.
- Let it Dry: Give it a good 24 hours to set. Keep the area dry and undisturbed during this time.
Now, crack patching is just one part of the puzzle. What about all that rainwater that's threatening to turn your basement into a lagoon? Let's talk about sealing and prevention:
- Waterproof the Walls: Applying an interior waterproof sealant can help prevent future leaks. This stuff essentially creates a barrier that rainwater can’t penetrate.
- Check Your Gutters: Make sure they're not clogged and are directing water away from your house. It's basic, but often overlooked.
- Grade Your Lawn: Ensure your lawn slopes away from the foundation. This prevents water from pooling right up against your home.
Got plumbing too close to the foundation? It might be time to install some effective rain gutters or get into French drains, which are simple yet effective at redirecting water away.
If you're feeling ambitious, consider documenting your fixes. Not only does it make you look like a DIY guru, but it can also be handy for future reference or when sharing tips with buddies facing similar issues.
When to Call in the Pros
Okay, so you’ve done your best trying to DIY the repair, but things are still looking dire. Is it time to throw in the towel and call in the experts? Here’s when professional help is a must-have rather than an optional extra.
First off, if you notice cracks wider than a quarter-inch, you’re probably dealing with a problem that's too big to handle on your own. These foundation leaks could point to structural issues that might need more than a quick patch-up.
Got mold or mildew growing indoors or in the basement, despite your diligent cleaning? That’s another red flag. It means moisture has been sneaking in long enough to invite fungi to the party, and you want someone skilled in waterproofing to give a hand.
If your doors and windows have suddenly decided not to align with their frames, it could mean your foundation is shifting. This isn't something you want to Google your way through fixing.
Lastly, constant flooding or if you've had water puddling indoors for more than 48 hours, it's time to call in a professional. Not only can this extensive water damage ruin your foundation, but it can also lead to more costly repairs in the future.
| Sign | Why Call a Pro |
|---|---|
| Visible large cracks | May indicate serious structural concerns |
| Mold presence | Sign of ongoing moisture issues |
| Misaligned doors/windows | Possible foundation shifting |
| Persistent water puddling | Risk of water damage beyond the repair scope |
Remember, tackling foundation leaks can sometimes be a much bigger deal than they initially appear. Professionals not only bring expertise but also tools and techniques you might not have access to. They’re not just coming in with a roll of duct tape and a prayer—they're set to resolve the problem from the ground up.
Future Maintenance Tips
Keeping your foundation in top shape is a bit like keeping your car running smoothly—it requires some attention and regular check-ups. Here’s how to keep those foundation leaks at bay for good.
Start by checking your gutters and drainage systems regularly. Ensure they’re clear of debris because clogged gutters can lead to water pooling around your home's foundation. This can spell trouble especially during heavy rainfalls.
Keep an eye on your landscaping. Make sure the soil near your foundation slopes away from the house. Plants are great, but they can also be water hogs. You might love how your hydrangeas look, but if they’re too close to the foundation, their roots might be doing more harm than good.
Avoid letting sprinkler systems soak the area around the base of your home. A strategic installation that prevents the foundation from staying wet is a smart home upgrade.
If your home is in an area prone to freezing temperatures, consider insulating your foundation. This helps prevent cracks due to frost heave, a sneaky culprit of foundation leaks.
Check out this handy guide on how often to perform these checks:
| Item | How Often to Check |
|---|---|
| Gutters | Every 3-4 months |
| Landscaping Drainage | Twice a year |
| Foundation Insulation | Annually |
Lastly, monitor your basement walls and floors for any signs of moisture or new cracks over time. A regular visual inspection can alert you to changes before they become serious issues.
By keeping a consistent maintenance schedule and addressing small issues early, you'll minimize future headaches and save a fortune in potential home repair costs. Your home will thank you, trust me!