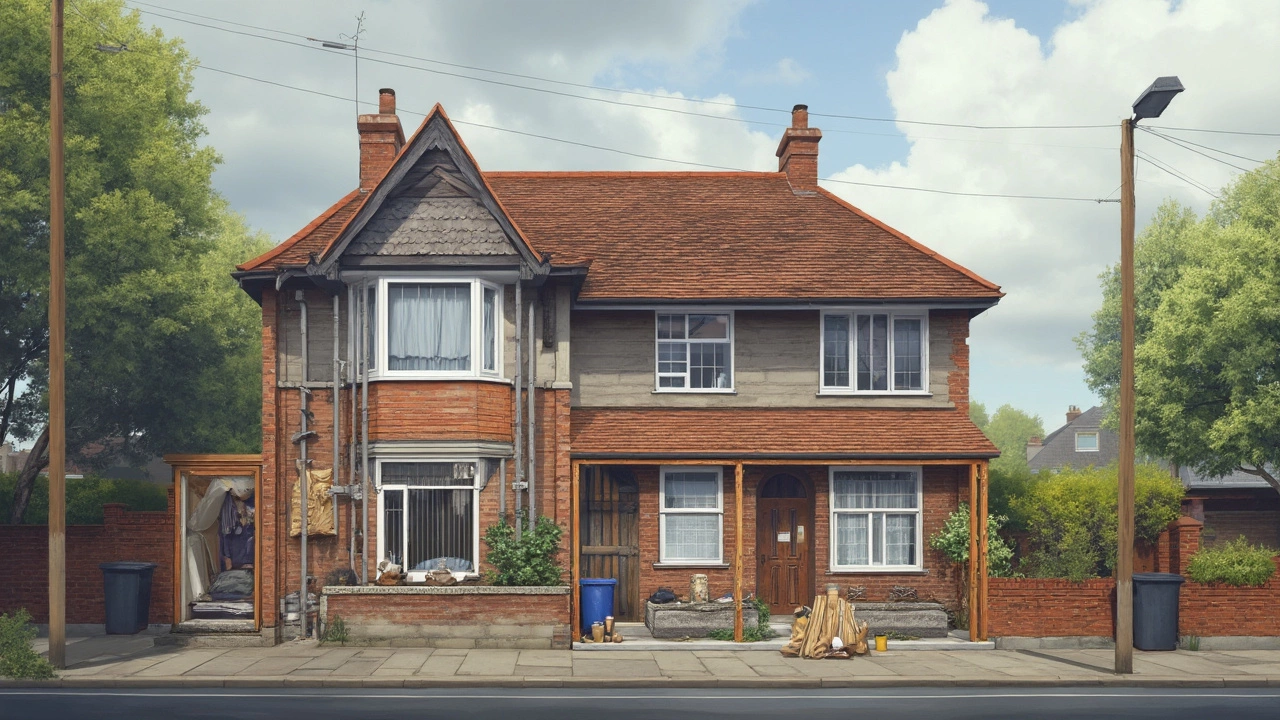
Outside Repair: Spot Problems Early and Fix Them Right
When the outer skin of your house shows signs of wear, it’s tempting to ignore the cracks, drips, or sagging bits. But a small issue outside can quickly become a big headache inside. This guide walks you through the most common exterior problems, how to assess their severity, and when a DIY fix will do versus calling a professional.
Spotting Common Outside Problems
First thing you need to do is give your home a quick walk‑around. Look for these red flags:
- Foundation cracks – Measure the width with a ruler. Anything over 3 mm (about a hair’s breadth) deserves a structural engineer’s eye.
- Roof leaks – Check the attic after rain. Dark patches or water stains mean a flashing issue or missing shingles.
- Severe settling – Notice doors that stick or floors that slope? That’s the building settling more than it should.
- Loft conversion limits – Low headroom, truss placements, or weak joists can stop you from turning the loft into a bedroom.
- Damaged masonry – Crumbling brickwork or crumbling render invites water in, leading to rot.
Take photos, note the exact location, and write down when you first saw each issue. A clear record helps both you and any contractor you hire.
Fixing What You Can – DIY vs Professional
Not every outside repair needs a full crew. Here’s a quick rule of thumb: if the problem is structural, call a professional; if it’s cosmetic or minor, you can often manage yourself.
DIY fixes you can try:
- Seal small roof cracks with a quality roofing sealant. Clean the area, apply the sealant, and let it cure for 24 hours.
- Patch shallow foundation cracks using hydraulic cement. Press the cement into the crack, smooth the surface, and keep it damp for a day.
- Repoint brickwork that’s only a few millimetres loose. Scrape old mortar, mix new mortar, and tuck it in.
- Install simple flashing around chimneys or skylights with a dab of silicone and metal flashing strips.
For anything deeper than 5 mm, any movement in walls, or large gaps in the roof, bring in a qualified contractor. They’ll assess load‑bearing elements, check for subsidence, and ensure the repair meets UK building standards.
When you decide to hire, ask for at least three quotes, request proof of insurance, and confirm the contractor is registered with a recognised trade body. A trustworthy builder will also explain why a particular method is needed, not just what they’ll do.
Finally, keep an eye on your repairs after they’re done. A newly sealed roof should stay dry for a couple of weeks, and patched cracks shouldn’t widen. Regular checks every six months will catch any recurrence before it turns into a costly rebuild.
Outside repair doesn’t have to be overwhelming. By knowing what to look for, measuring accurately, and choosing the right level of help, you protect your home’s structure and save money in the long run.

