Plumbing for Conservatories – What You Need to Know Before You Start
If you’re adding a sunroom, garden room or full‑size conservatory, water lines are one of the first things you’ll forget to plan. A missed pipe can mean a costly remodel later, so let’s sort out the basics right away.
Plan the Supply and Drainage Routes Early
Start by locating the nearest cold‑water main. In most UK homes it runs through the garage or utility room, so trace a clear path to the new space. Keep the route as short as possible – fewer bends mean less pressure loss and lower material costs.
Drainage works the same way. If you’re adding a wash‑down basin or a small bathroom, you’ll need a waste pipe that slopes at least 1:40. Use a spirit level to check the fall; an incorrect slope can trap water and cause mould.
Pick the Right Materials for the Job
For most conservatory projects copper or flexible PEX tubing works well. Copper is durable and easy to solder, but it’s pricey. PEX is cheaper, quieter and resists freezing – a big plus if your conservatory isn’t fully insulated.
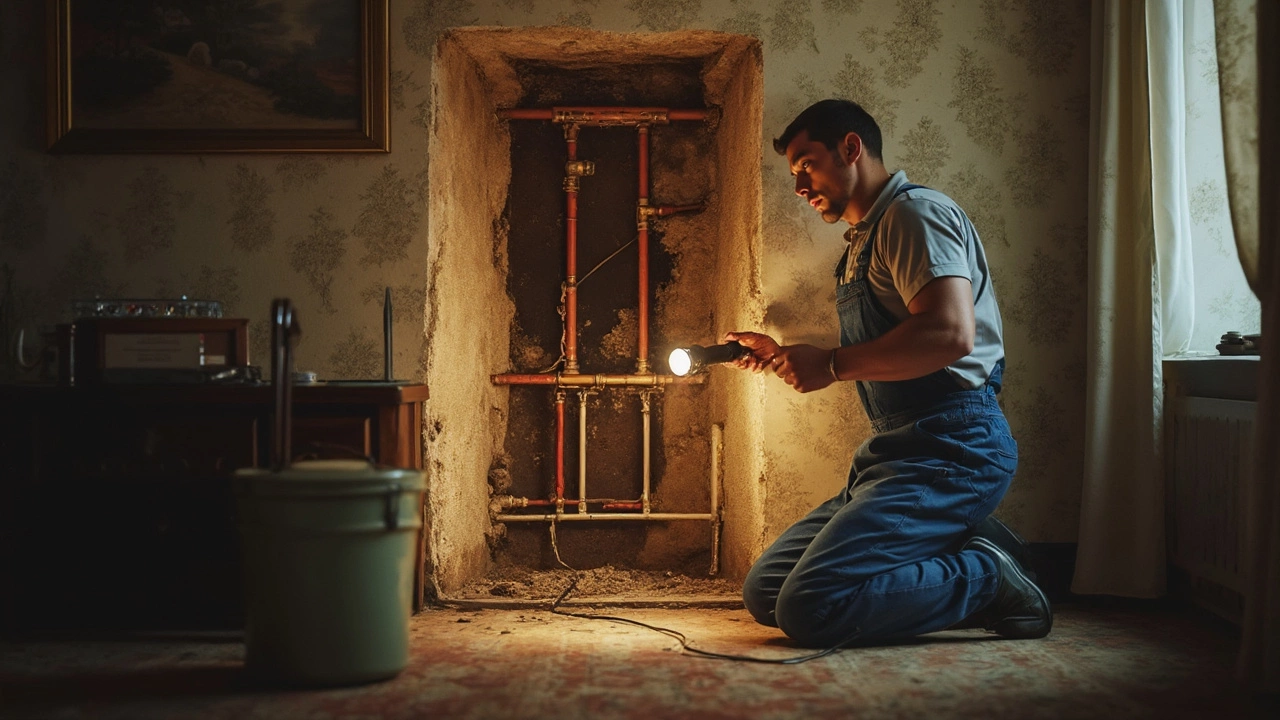
When you’re running pipes through the roof or under the floor, protect them with insulated sleeves. In the UK climate, a sudden chill can cause pipes to burst, especially if you forget a small, uninsulated loop.
Don’t forget about venting. A vent pipe lets air enter the system, preventing suction that could slow drainage. A simple 15 mm vent is enough for most small bathroom setups.
Regulations matter. The Building Regulations Part G (Sanitation, hot water safety and water efficiency) applies to any new wet room, even a tiny wash‑basin. Check with your local council to see if you need a compliance certificate.
If you’re not comfortable with soldering or the planning stage feels overwhelming, hire a qualified plumber for the rough‑in stage. A professional can lay the pipework, test for leaks and give you a clear handover schedule for the finishing trades.
DIY‑friendly tip: use push‑fit connectors for PEX. They snap together without tools, so you can lay out the runs yourself and still meet standards, as long as the connections are inspected.
Before you seal the conservatory, run a pressure test. Fill the system with water, clamp the ends and watch the gauge for a steady reading over 15 minutes. Any drop means you have a leak that needs fixing now, not after the roof is on.
Think about future maintenance. Install access panels behind the piping where possible. If a valve ever needs to be replaced, you’ll thank yourself for the easy reach.
Finally, consider water‑saving fixtures. Low‑flow taps and dual‑flush toilets cost a little more upfront but cut your bills and help you meet UK water‑efficiency targets.
With the right planning, material choice and a quick check of regulations, plumbing in a conservatory can be a smooth part of the build. Skip the last‑minute scramble, keep the water flowing, and enjoy your new space worry‑free.