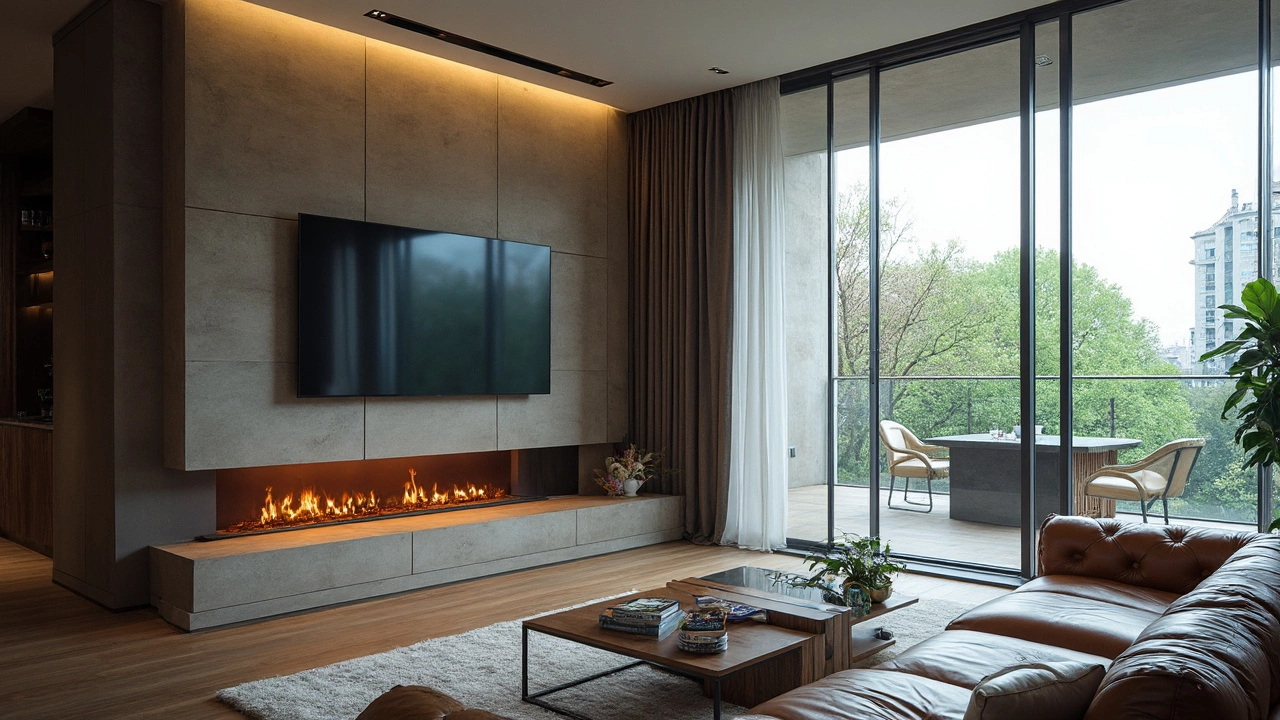
TV Inclusion: How to Mount, Place, and Integrate Your TV Right at Home
If you’re thinking about adding a TV to a new build or renovating room, the first question is: where should it go? The answer isn’t just about the look – it’s about safety, wiring, and keeping your warranty intact. Below you’ll find the steps most homeowners need, from finding the right studs to hiding cables, all spoken in plain English.
Find the Right Spot and Check the Wall
Start by locating a wall that can actually hold the weight of your TV. Use a stud finder or knock on the wall – a solid thump usually means a stud is there. In plasterboard homes, you’ll want two studs for larger screens (over 55 inches). If you only find one, add a sturdy mounting plate that spreads the load. When you’ve marked the studs, use a level to make sure the TV won’t end up crooked – nobody wants a slanted picture.
Next, think about viewing height. The centre of the screen should be about eye level when you’re seated. Measure from the floor to the middle of the TV and adjust the mount height accordingly. Also consider glare: a south‑facing window can wash out the picture, so positioning the TV away from direct sunlight helps preserve image quality.
Wire It Up Without Mess
Running cables is where many DIYers get stuck. The cleanest method is to drill a small hole behind the TV, feed the cables through, and seal it with a grommet. For a new build, ask the electrician to run conduit inside the wall before the plaster goes up – it saves you a lot of work later. If you’re retrofitting, surface‑mount raceways are a cheap alternative; they hide HDMI, power, and speaker wires without needing to cut into plaster.
Make sure the power socket is on a dedicated circuit and that the cable is rated for the TV’s load. Overloading a socket can trip breakers or, worse, start a fire. If you’re unsure, a qualified electrician can check the load and install a fused spur for extra safety.
Mounting the TV Safely
Choose a mount that matches your TV’s VESA pattern and weight rating. Fixed mounts keep the screen flush against the wall – great for a sleek look. Tilting mounts let you angle the screen downwards, which is handy if the TV is higher than eye level. Full‑motion arms give you the flexibility to pull the screen out for cleaning or to watch from different spots, but they’re heavier and need stronger brackets.
When you attach the mount to the studs, use lag bolts of the correct size (usually M6 or M8). Tighten them firmly but avoid over‑tightening, which can strip the wood. Hang the TV by hooking its mounting brackets onto the wall plate, then double‑check that it’s secure before letting go.
Final Checks and Maintenance
Give the TV a gentle shake – you shouldn’t feel any wobble. Turn it on and run a quick picture test to ensure all inputs are working. Hide any remaining cables with cable covers, and consider a wall‑mounted power strip for future devices like soundbars.
Every few months, inspect the mount screws and the wall for any signs of stress. A small crack in plaster might mean the TV is putting too much pressure, so tighten the bolts or add extra support if needed.
Adding a TV to your home doesn’t have to be a nightmare. With the right studs, a tidy wiring plan, and a sturdy mount, you’ll end up with a sleek, safe, and fully integrated entertainment hub that fits perfectly into your space.

