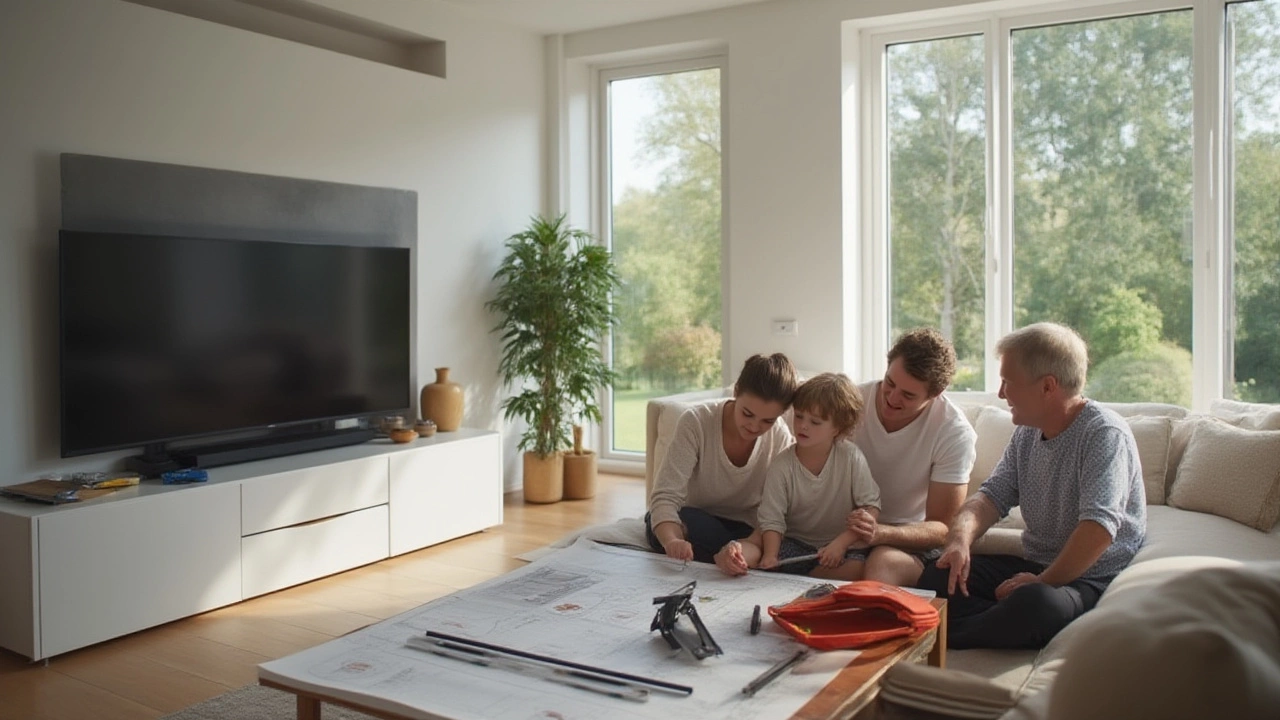
TV Wall Mounting: Easy Steps for a Safe, Clean Install
Mounting a TV on the wall can make a room look sleek and free up floor space. It feels intimidating, but with the right tools and a clear plan, anyone can do it. Below is a straightforward guide that walks you through every stage, from picking the right mount to tightening the final screws.
What You Need Before You Start
First, gather these basics:
- Stud finder – to locate wall studs.
- Level – ensures the TV isn’t crooked.
- Power drill with appropriate bits.
- Measuring tape and pencil.
- The correct mount for your TV size and VESA pattern.
- Socket wrench or screwdriver for the mounting bolts.
Having everything on hand saves you from stopping mid‑project to run to the hardware store.
Step‑by‑Step Installation
1. Choose the Spot
Look at where you watch most often. Aim for eye level when seated – roughly 42‑inches from the floor for a 55‑inch screen. Check for nearby power outlets and avoid direct sunlight that can cause glare.
2. Find the Studs
Use the stud finder to locate two studs spaced about 16‑inches apart. Mark the center of each stud with a pencil. Mounting directly into studs gives the strongest support; drywall alone can’t hold a large TV.
3. Attach the Mount to the Wall
Hold the mounting plate against the wall, align it with the stud marks, and use the level to make sure it’s straight. Drill pilot holes, then secure the plate with the supplied lag bolts. Tighten firmly but don’t over‑torque – a stripped hole weakens the hold.
4. Prepare the TV
Lay the TV face down on a soft blanket. Screw the mounting brackets to the back of the TV using the bolts that came with the mount. Make sure each bracket is snug; the TV’s weight will be supported by these points.
5. Hang the TV
With a partner, lift the TV and hook the brackets onto the wall plate. Double‑check that it clicks into place securely. If the mount has a safety strap, attach it now.
6. Hide Cables
Run power and HDMI cables through a wall conduit or a cable raceway for a clean look. If you’re comfortable, you can even pull the cables inside the wall – just follow local building codes.
7. Test and Adjust
Turn the TV on and check the picture from different seats. Use the mount’s tilt or swivel features to fine‑tune the view. Once satisfied, tighten any adjustment screws.
That’s it – you’ve turned a plain wall into a centerpiece for movies, sports, and games.
Remember these safety points: never mount above 12 feet without a professional, always use studs, and keep the TV weight within the mount’s rating. If anything feels off, pause and reassess – a secure install is worth the extra time.
Now you can sit back, relax, and enjoy your newfound space. Happy watching!

