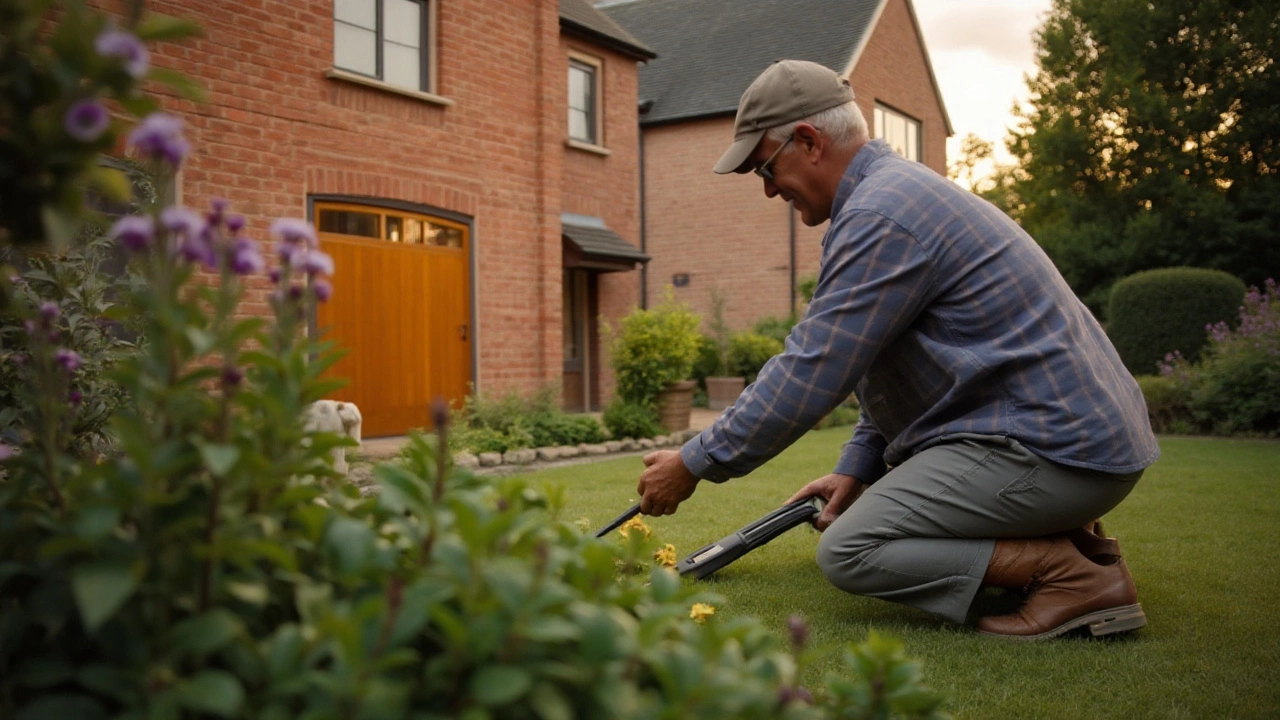
DIY foundation fix: Quick fixes you can do yourself
Seeing a crack in your floor or wall can make anyone nervous. The good news is many foundation cracks are minor and can be tackled without a pricey contractor. This guide shows you how to spot a real problem, gather the right tools, and carry out a solid repair that lasts.
How to spot problem cracks
First, measure the crack width with a ruler or a crack‑width gauge. If it’s under 3 mm (about the thickness of a matchstick) and it hasn’t grown in the past few weeks, it’s usually a shrinkage crack – safe to patch yourself. Anything wider than 5 mm, or a crack that’s getting longer, signals movement in the soil or structure. Look for horizontal cracks on basement walls or stairs; those often need a professional because they can point to pressure from the outside.
Next, check the location. Cracks near doors, windows, or load‑bearing walls deserve extra attention. Moisture is another red flag – damp spots mean water is getting in, which can worsen any repair you do later.
Step‑by‑step DIY repair guide
1. Gather basics. You’ll need a clean chisel, a hammer, a wire brush, epoxy or hydraulic cement, a putty knife, and safety gear (gloves, goggles). For larger cracks, a concrete mixer and a rubber trowel make life easier.
2. Clean the crack. Use the wire brush to remove loose debris, dust, and any old filler. A clean surface helps the new material bond properly. If water is present, dry the area with a shop‑vac or let it air‑dry for a day.
3. Undercut the edges. Lightly tap a chisel into both sides of the crack to create a V‑shaped groove. This gives the epoxy or cement something to grip and reduces future cracking.
4. Mix the repair material. Follow the manufacturer’s instructions – usually a 1:1 mix of epoxy resin and hardener, or a slow‑setting hydraulic cement for bigger gaps. Stir until smooth, no streaks.
5. Apply the filler. Push the mix deep into the crack with the putty knife. Over‑fill slightly; the material will shrink a little as it cures. Smooth the surface level with the surrounding wall or floor.
6. Let it cure. Most epoxies set in 30‑60 minutes, but give the repair 24 hours before applying any load or re‑water‑proofing. Keep the area dry and at room temperature.
7. Seal the repair. Once cured, run a waterproof sealant or paint over the patch to keep moisture out. This step is crucial for basements and exterior walls.
If at any point the crack looks active (spreading while you work) or you feel unsure, pause and call a structural engineer. A small mistake on a serious issue can cost a lot more later.
After the fix, monitor the area for a few weeks. A simple line‑mark on the wall can show any new movement. Regularly check for dampness, especially after heavy rain.
DIY foundation repair doesn’t replace professional assessment when the structure is in danger, but for many small cracks it saves time and money. With the right tools and a careful approach, you’ll keep your home safe and sound without hiring a contractor.