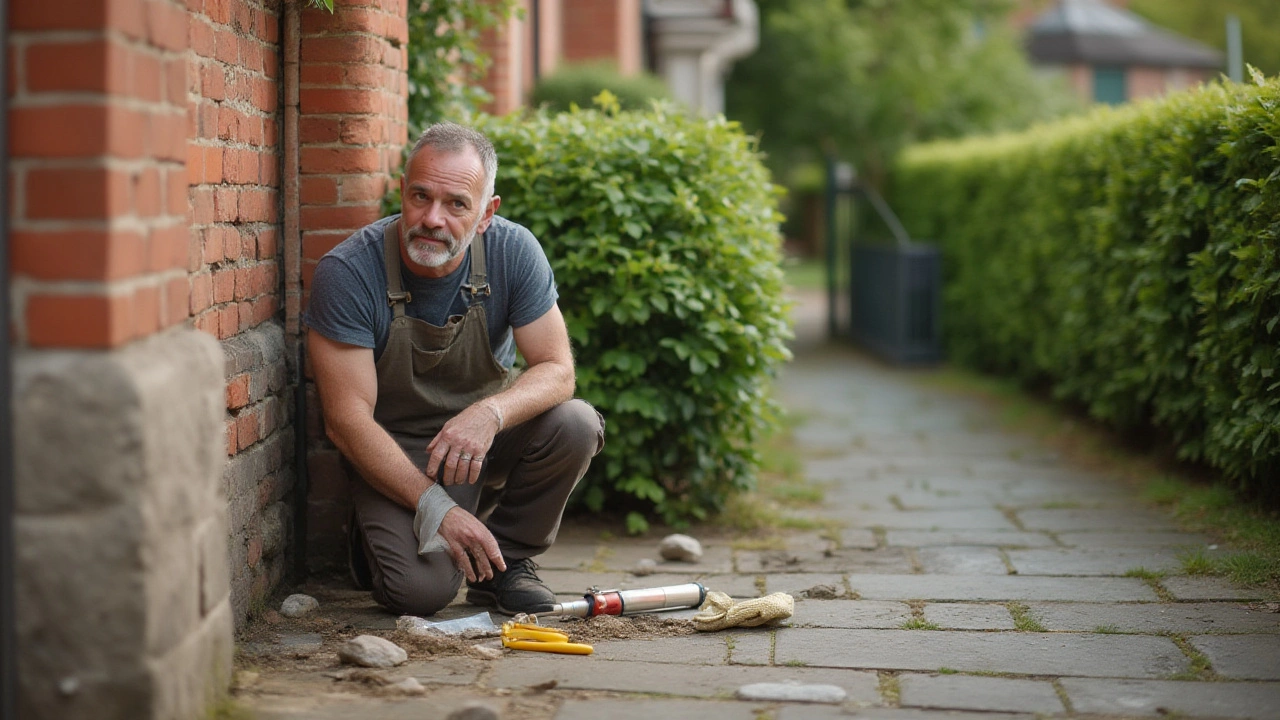
DIY Foundation Repair: Simple Steps to Fix Common Problems
Found a crack in your floor or noticed a sloping wall? Before you call an engineer, check if you can tackle it yourself. A lot of foundation issues are small enough for a weekend project, and doing it yourself can save you hundreds of pounds. This guide walks you through what to look for, the tools you need, and a clear step‑by‑step repair process built for UK homes.
Spotting the Trouble: When a Crack Needs Attention
The first thing you need to do is measure the crack. If it’s under 1 mm wide and the house isn’t settling, it’s usually just shrinkage and can be sealed with epoxy. Anything wider than 3 mm, or a crack that’s growing each time you check, could signal a structural problem.
Look for red flags: doors that stick, windows that wobble, or a noticeable dip in the floor. These signs often mean the movement is affecting the whole frame. Grab a ruler or a crack‑width gauge, note the size, and track it over a few days. If the crack widens, or you see water seeping in, bring in a professional before you start any DIY work.
When the crack is stable and within a manageable size, you’re good to go. Make sure the surrounding soil isn’t overly wet – a soggy garden can keep the foundation from drying properly after repair.
Step‑by‑Step Repair Guide
1. Gather your tools. You’ll need a chisel, hammer, wire brush, vacuum, mixing bucket, trowel, and a high‑strength hydraulic cement (look for “quick‑set” or “repair‑grade”). A pair of safety glasses and gloves are a must.
2. Clean the crack. Use the chisel and hammer to widen the crack slightly – about 10 mm deep and 5 mm wide – so the cement can grip. Brush away dust, then vacuum the cavity. A clean surface is the key to a strong bond.
3. Prepare the cement. Follow the manufacturer’s instructions – usually a 1:1 mix of powder and water for hydraulic cement. Stir until you have a thick, creamy paste. Work fast; hydraulic cement starts to set in about 10 minutes.
4. Apply the mix. Push the cement deep into the crack with a trowel or a pointing tool. Overfill slightly, then smooth the surface to match the surrounding concrete. If the crack is wider than 10 mm, you may need to place a mesh reinforcement strip before the final top‑coat.
5. Let it cure. Keep the repaired area damp for the first 24 hours – spray with a misting bottle or cover with a wet blanket. This prevents the cement from drying too quickly and cracking again.
6. Finish the floor. Once the cement has hardened (usually 24‑48 hours), you can sand any rough spots and apply a concrete sealant if you want extra protection against moisture.
That’s it – a solid, long‑lasting fix you can handle in a day or two. Remember, the key to success is proper cleaning, the right cement, and keeping the area moist while it cures.
If you run into a problem you didn’t expect – like a crack that keeps re‑opening or signs of significant movement – don’t push on. It’s smarter to call a structural engineer at that point. But for most minor cracks, this DIY approach will keep your foundation strong and your wallet happy.

