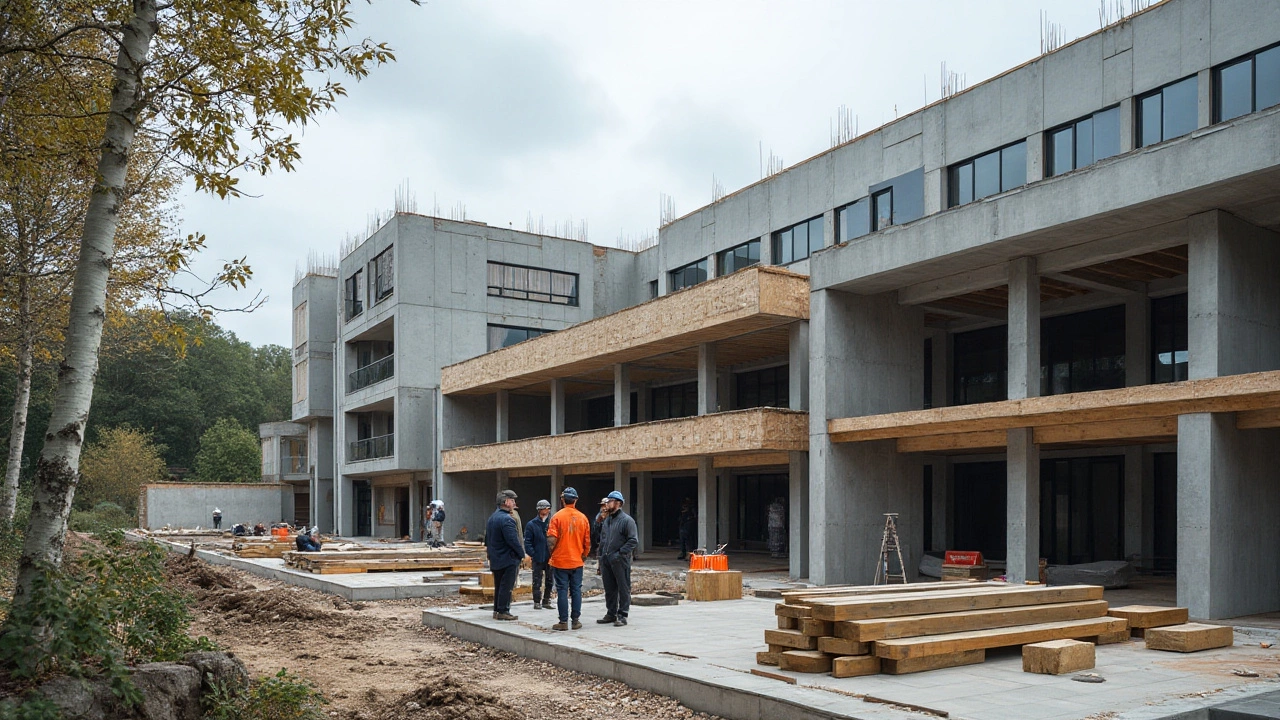
Type C Construction – Simple Guide for UK Builders
If you’re planning a conservatory, extension or garden room, you’ve probably heard the term Type C construction. It’s not a fancy brand name, just a way of describing a specific building method that many UK homeowners use. In plain English, Type C means a timber frame with external cladding, often combined with insulated panels. It gives you a solid, quick‑to‑build structure that works well for small to medium projects.
Why do people pick Type C over other methods? The main reasons are speed and cost. Timber frames go up fast, and the panels you attach are pre‑cut, so you spend less time on‑site. That translates into lower labour charges and a shorter disruption period for your family. Plus, the system is versatile – you can adapt it for a sunroom, a loft conversion or even a small outbuilding.
When to Choose Type C
You should think about Type C when you need a lightweight solution that still feels sturdy. It’s great for projects under 50 sqm, especially where planning permission isn’t required under permitted development rules. If your plot has limited access for heavy machinery, the lighter timber frame is easier to manoeuvre. Also, if you want decent thermal performance without the expense of a full masonry build, Type C panels with proper insulation can deliver comfortable indoor temperatures.
However, don’t pick it just because it’s cheap. Check the ground conditions first – a stable, well‑drained site is essential. On soft or uneven ground, you may need a more robust foundation, which can add cost and time. Also, consider the final look: Type C can be clad in brick slip, rendering or cladding boards, but you’ll need to decide early on to keep the finish consistent.
Key Steps in a Type C Build
1. Design and Planning: Sketch out the dimensions, doors, windows and roof style. Use the 3‑4‑5 method for accurate right angles – it’s a quick way to ensure your walls are square.
2. Foundation: Most Type C projects sit on a concrete strip footing. Keep the width at least 300 mm and make sure the depth meets local frost line requirements. A level base prevents later settlement cracks.
3. Timber Frame Assembly: Erect the pre‑cut timber studs and joists. Secure them with metal brackets and screws. Double‑check every corner before moving on – a small mistake now can cause bigger problems later.
4. Panel Installation: Attach the insulated panels to the frame. Seal joints with waterproof tape and apply a breathable membrane to protect against damp while allowing the wall to breathe.
5. Finishing Works: Add external cladding of your choice, install doors and windows, and finish the interior walls. If you’re adding a conservatory roof, consider low‑profile glazing to keep the building light.
6. Inspection and Handover: Walk through the build with your contractor. Look for any gaps, check that the roof is properly ventilated, and confirm that all openings operate smoothly.
Following these steps reduces the chance of hidden defects and keeps the project on track. If you’re unsure about any stage, a qualified structural engineer can review your plans and give peace of mind.
In short, Type C construction offers a practical blend of speed, affordability and flexibility for many UK home projects. By understanding when it fits, preparing a solid foundation, and following a clear build sequence, you can enjoy a well‑built addition that lasts for years. Ready to start? Grab a sketch pad, check your local planning rules, and let the timber frame do the heavy lifting.

